How to Sew a Princess Cut Bodice Dress
Share
🌸 Sewn for Grace: How to Make a Maxi-Length Dress with a Princess Cut Bodice
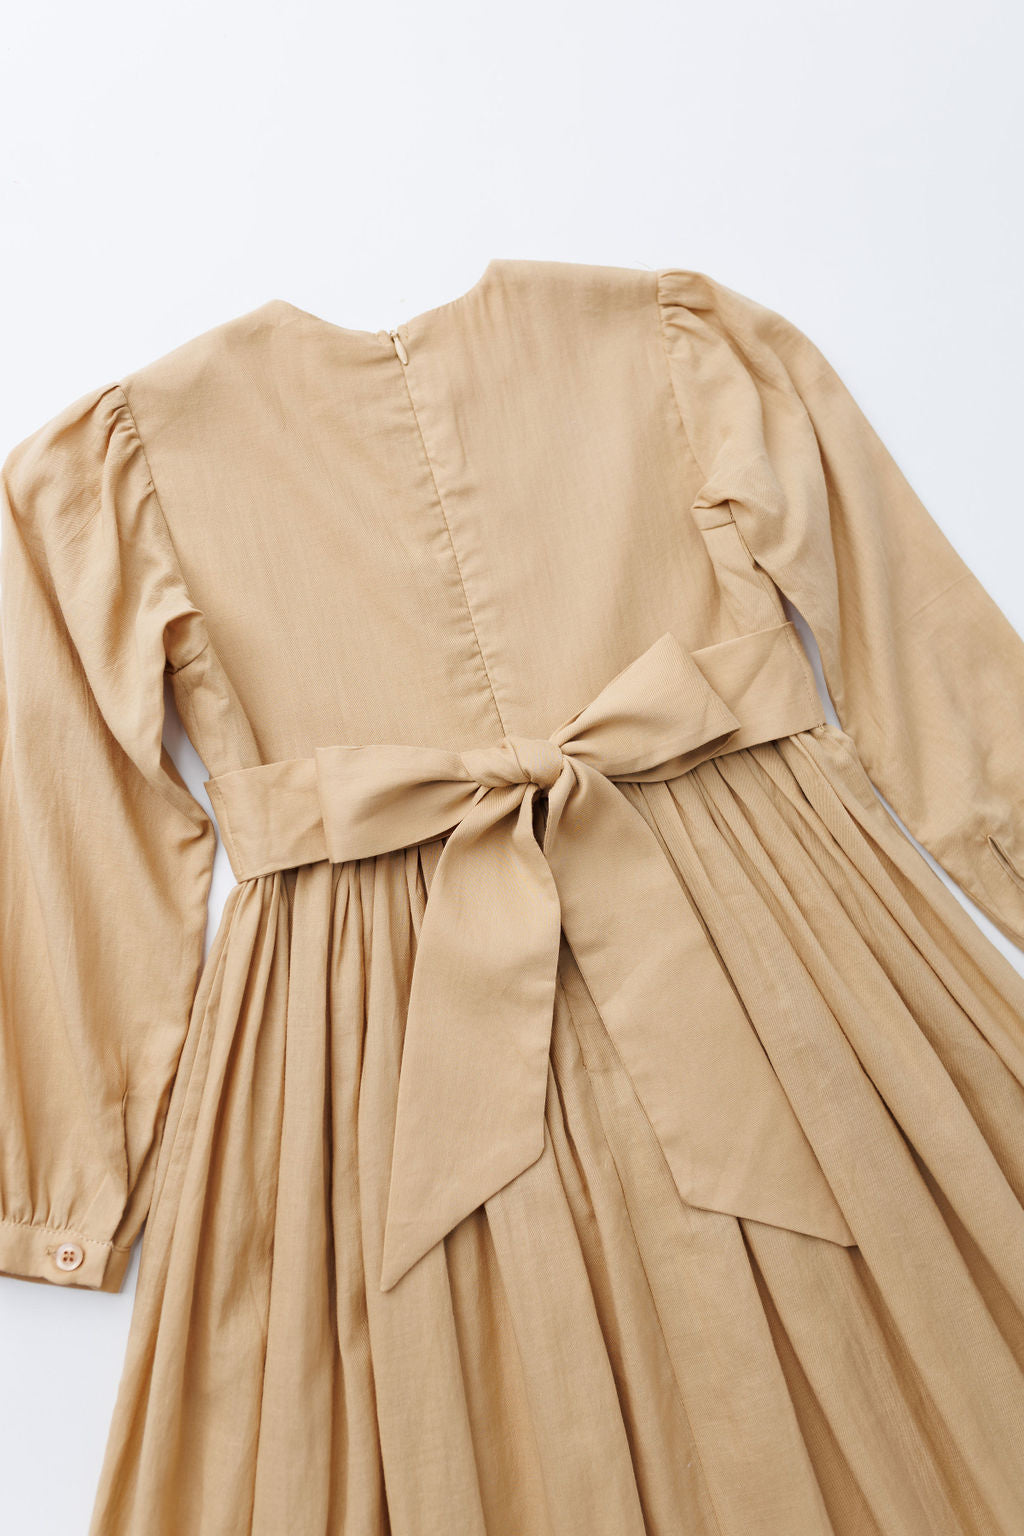
At Monkey Fish Clothing, every dress is a tribute to modesty, heritage, and craftsmanship. This step-by-step guide walks you through how to sew a maxi-length dress featuring a princess cut bodice, long sleeves with shoulder ruffles, and a gathered ruffle skirt, all constructed from wool dobby fabric and polycotton lining. Whether you’re sewing for a seasonal collection or a special occasion, this method ensures elegance in every stitch.
🧵 Materials You'll Need
-
Wool dobby (main fabric)
-
Polycotton (lining for bodice and back)
-
Invisible zipper (length of back plus extra 5 inches)
-
Lightweight interfacing (optional for neckline stability)
-
Matching thread
-
Sewing machine + zipper foot
-
Tailor’s ham (for pressing curves) or (paper towel roll)
-
Iron + steam
-
Ruffle templates or basting/gathering guides
✂️ Step 1: Construct the Princess Cut Bodice
Begin by cutting your princess seam pattern from both the wool dobby and lining fabric.
-
Pin and stitch the side front pieces to the center front for both outer and lining.
-
Repeat for the back bodice pieces.
-
Carefully press seams open along the curved lines with a tailor’s ham to keep the shaping smooth and elegant.
Tip: Use lots of pins and go slowly around curves to avoid puckering.
🪡 Step 2: Sew Side Seams of Bodice Sew
Once front and back panels are assembled:
-
Place front and back wool dobby bodices (outer layer) right sides together.
-
Pin and sew along both side seams.
-
Press seams open for a neat structure.
Repeat with the lining polycotton pieces to prepare for clean layering in later steps.
🔧 Step 3: Attach Bodice Lining at the Neckline Only
Before adding sleeves, secure the neckline so your lining stays neat and professional.
🧵 What to Do:
-
Place the outer bodice and lining right sides together, matching shoulder seams and neckline curve.
-
Pin carefully along the neckline only—avoid armholes for now!
-
Stitch with a straight seam all around the neckline using your standard seam allowance.
-
Trim seam allowance slightly and clip curves to help the fabric turn smoothly.
-
Turn the lining to the inside and understitch: sew the lining to the seam allowance about ⅛” away from the seam line to keep it from rolling outward.
✨ Result:
You’ll have a beautifully finished neckline, with open armholes ready for sleeve insertion in Step 4. This sets you up for a crisp, modest silhouette without crowding your sleeve construction.
Understitching prevents the lining from peeking out—small detail, big impact!
✨ What Is Understitching?
Understitching is a sewing technique used to keep linings, facings, or inner layers from peeking out or rolling to the outside of your garment—especially at necklines and armholes.
🧵 How It Works:
After you’ve sewn your lining to the outer fabric, you:
-
Open the seam and press it toward the lining.
-
Stitch the lining to the seam allowance, close to the original seam (usually ⅛" away).
-
This secures the lining, helping it stay neatly tucked inside.
📍 Why It’s Important:
-
Creates a clean neckline and armhole edge
-
Prevents the lining from showing on the outside
-
Gives your garment a more professional finish
It's not visible from the outside—think of it as a secret weapon for polished sewing!

🔒 Step 4: Install Invisible Zipper
Align the invisible zipper face-down on the back bodice opening.
-
Pin one side and stitch using an invisible zipper foot.
-
Repeat for the other side, checking alignment.
-
Gently press zipper area—use medium heat to avoid melting the teeth.
Beginner tip: Baste the zipper in place first to preview placement before final sewing.
🎀 Step 5: Assemble Sleeves & Shoulder Ruffles
Start with long sleeve pieces:
-
Hem the cuffs first with a double fold and straight stitch.
-
Prepare ruffles by cutting strips and gathering them with basting stitches.
-
Pin gathered ruffles along the shoulder seam and secure in place.
Insert sleeves:
-
Sew sleeve seams closed, then ease them into the armholes and stitch slowly to avoid puckering.
Don’t stress over perfect ruffles—hand-touched details carry charm.
👗 Step 6: Make & Attach the Ruffled Skirt
Cut skirt panels to desired maxi-length. For fullness, double the waist measurement to allow gathering.
-
Sew side seams, then use two rows of basting stitches across the top to gather evenly.
-
Pin the gathered skirt to the finished bodice, aligning seams and notches.
-
Stitch carefully and press the seam flat.
You may line the waist seam inside for a polished touch if desired.
✨ Final Touches
-
Hem the skirt with a clean double fold.
-
Press all seams for a professional look.
-
Add optional topstitching to neckline or waist for extra definition.
